This has been my favorite project so far. I really like abandoned landscapes and destroyed areas, so when I learned our final project would be modeling one, I got pretty excited. I've been into abandoned and destroyed and post-apocalyptic stuff for years now, to the point that I used to build scenes like that out of legos. This project was a great learning experience and a lot of fun too.
I modeled some pretty simple stuff in perspective, and locked a camera to the angle and area I wanted. The original picture used a slight fish-eye lens, so capturing that completely with modeling would likely be too hard to be worth it anyway. This was pretty simple modeling work, didn't take more than an 45 minutes for this.
This is the beginning of the radiator. I just made 3 cylinders and bridged them to each other to make this paperclip-like shape. Then I duplicated it a bunch along an axis, and added a block and feet to it, as seen below.
Now it is placed in the environment, as well as a few other details.
This is where I began the second main focus of the scene in general. I felt like there were two main sections to pay attention to: the windows/curtains, and the fireplace. Those were focal points, and got the most emphasis.
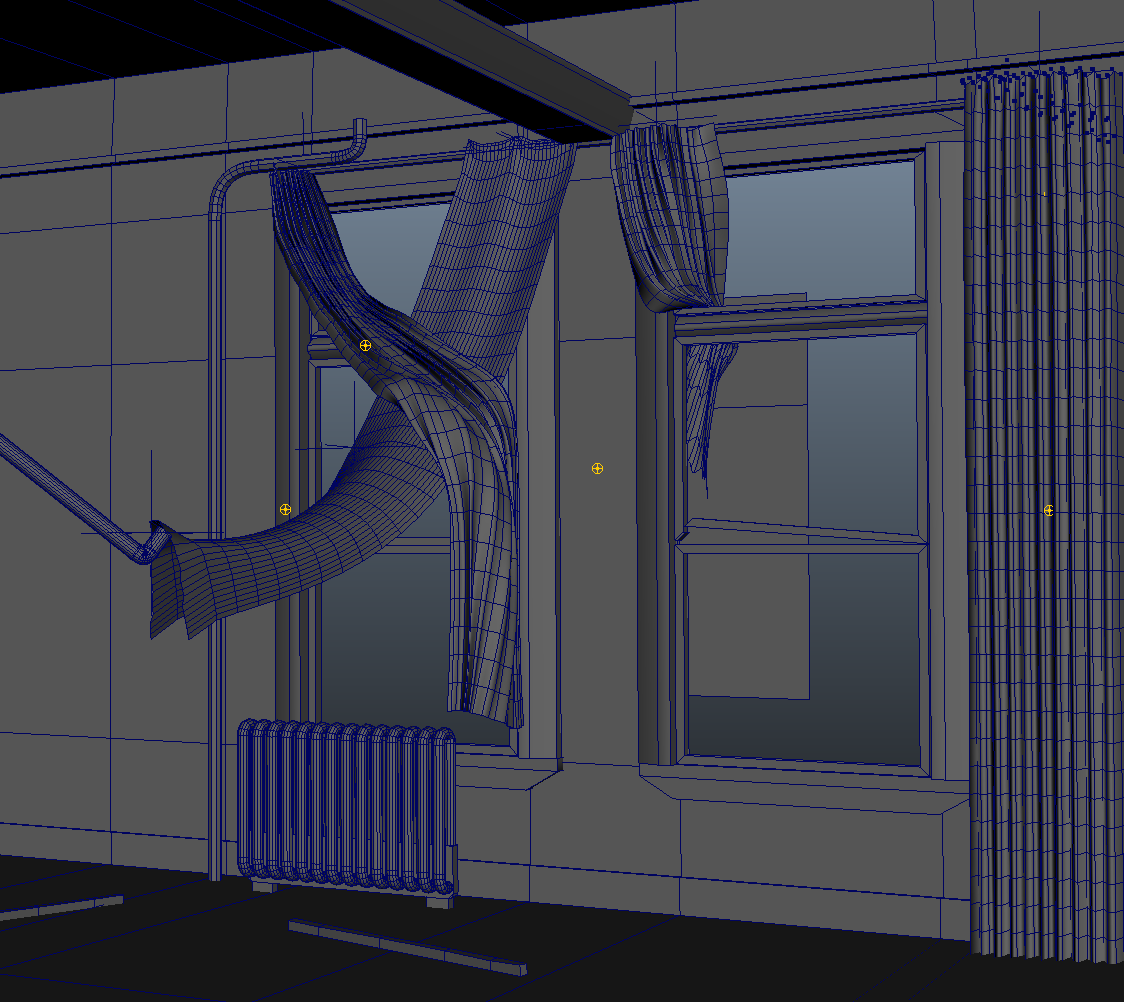
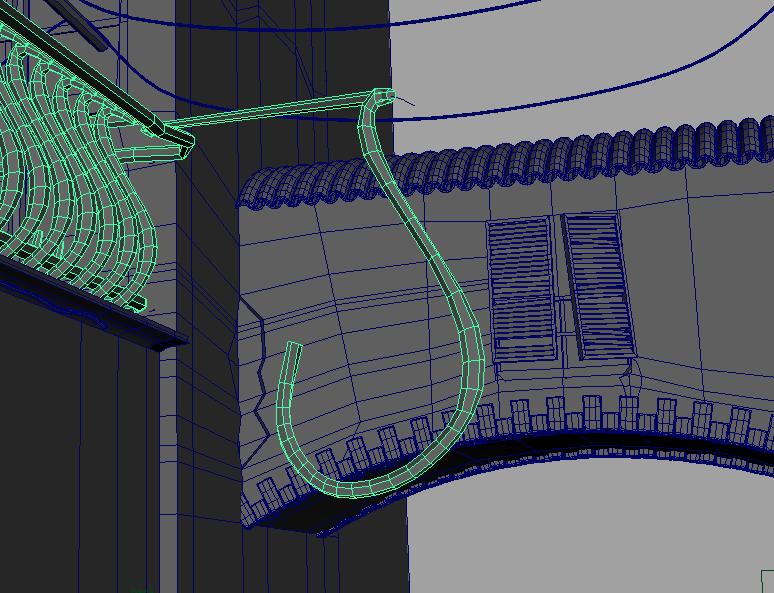
It's a little hard to tell here, but to make what is shown in wireframe above, I just used CV curves to draw out a rippled line. I then duplicated it straight up, lofted them to each other, and added a lattice modifier to it all, so i could control the curtain as a whole from some easy to manage points. Yes, I watched a tutorial on this. I'm not that clever.
In my original image, the curtains are draped on each other, and on the pipe hanging across the room. So I began working on that.
My first pass at draping the cloth was not good.
My first instinct was to put the ends where I wanted them and then move the vertices around to get the twisted shape in the original image. The downside to this is that moving vertices causes the object to change in size without moving the other vertices around it, Soft selection could have helped this, but I wasn't happy with it anyway so I went to another option.
I did some looking around and I found out about ncloth. Ncloth was about the most useful thing I did, and I absolutely love how it works and looks. I put an object along where I wanted the cloth to drape, then turned it into a passive collider.
Once the piplike object was a passive collider, I used the vertices on the curtain rod as anchors of sorts. This means that the curtain would fall with gravity, but it would be bound to those vertices. I bound it to both the curtain rod and the pipe. I also removed the object I had placed under the cloth, since it became unnecessary.
Once I had the first one draped how I liked, I paused the animation, froze the curtain, and deleted the history. Then I turned the first cloth into a passive collider. Next, I draped the second one over the first one, anchored it to the top and to the middle of the first cloth, let it play, paused, froze, and deleted history. Now I had two curtains, draped very similarly to how they were in the original picture.
The third one went the same way, I just tossed it out the window. Anchor to the curtain rod, play, pause, freeze, delete history.
The one out the window and the one to the right of the window and the one across curtain 1 are actually modified versions of the one I had previously made with a loft. The first curtain is just a plane with a lot of divisions.
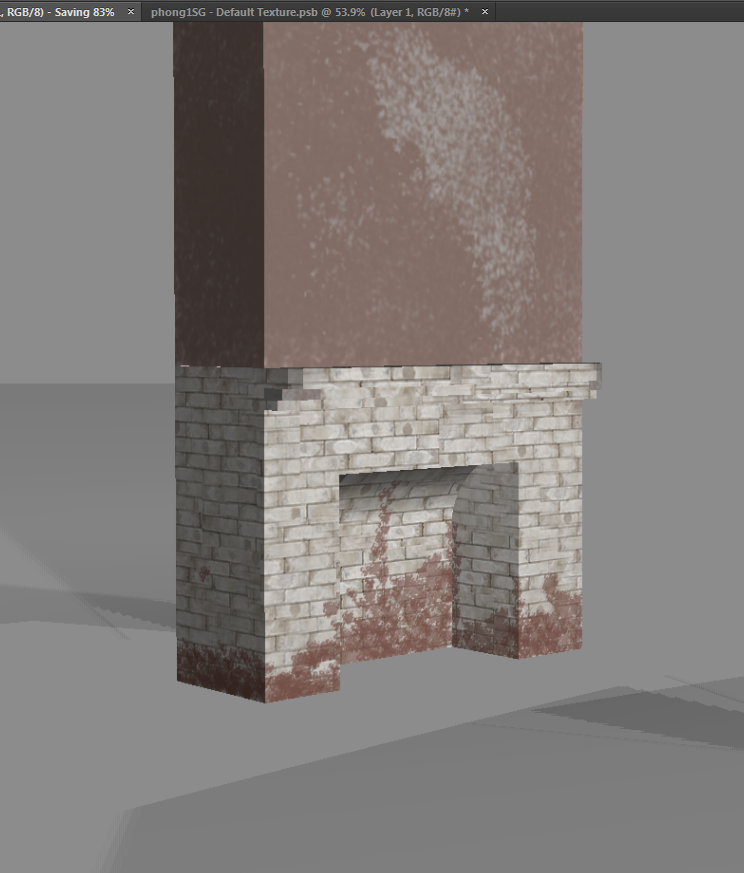
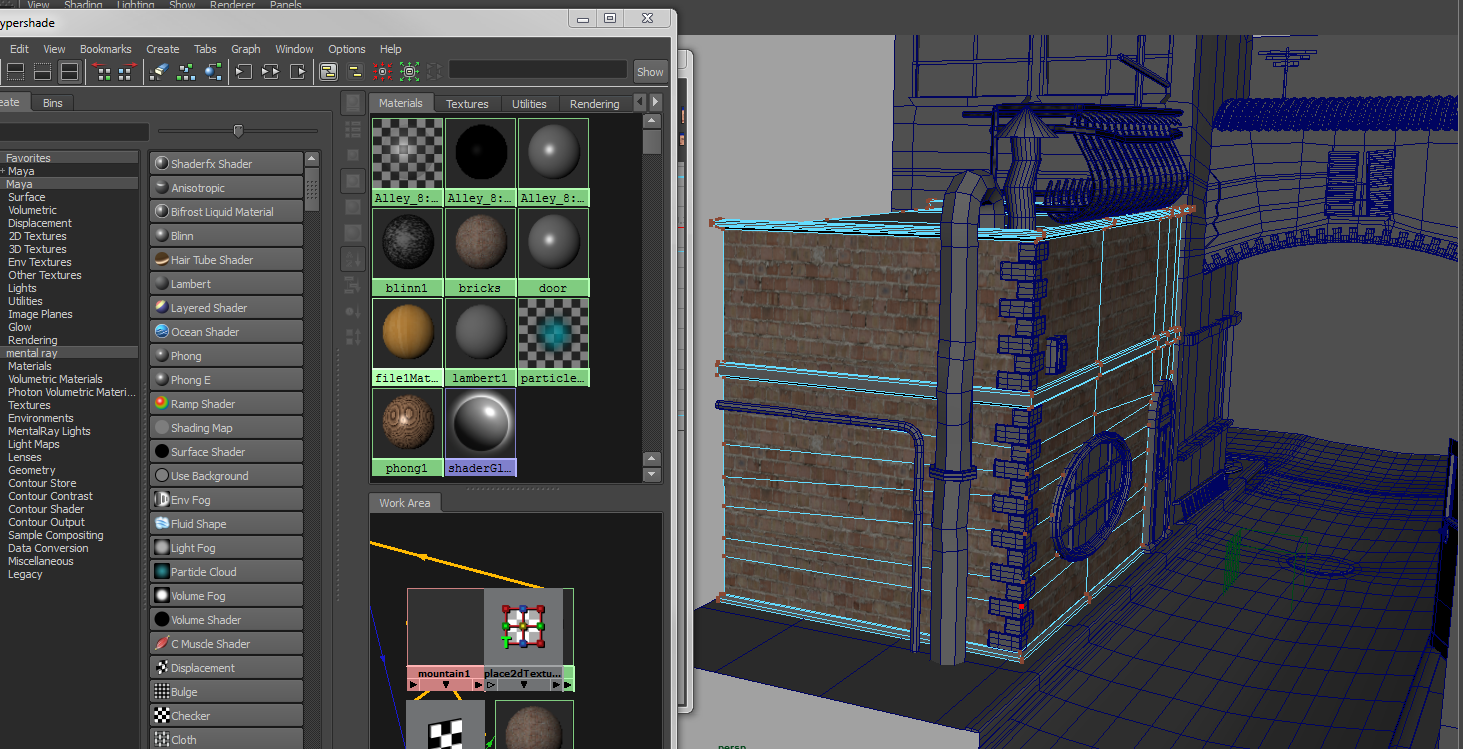
I didn't like the look of many textures in the scene, since the chips and breakages and fades in the wall gave it a unique look. I decided that just images and texture pictures wouldn't work alone. I watched the Maya tutorials on painting in photoshop, and I spent a few hours doing that to the main points of my scene. This is from my personal desktop, which is why it is a very wide picture. I was using both monitors.
Here is working on the fireplace. I used the clone stamp tool to make the bricks on the bottom, then painted on the red marks that are along the bottom. I think the top section of it came out pretty well, I think it looks very convincing to how the reference picture looks.
Yes, once I started doing digital painting, I decided almost everything needed at least a little of it. So I did all of the walls and floor, the fireplace, the window frames, and the ceiling. I'm happy I did, because it really added to the realism of it. I did not, however, add bump maps. I should have, but it slipped my mind.
Here it is, all together so far.
This is a quick render with the light source outside the window. Not everything has texture yet, and it still needs a lot of detail work. I was pretty happy with it at this point so far though.
This is what happens when you use paint effects A LOT on one plane. I painted on all sorts of foliage and rotated it all 90 degrees. Then I put a brighter looking leaf texture on that plane, and set it into the window. I converted it all to polygons, because evidently mental ray will not render paint effects. Not a big deal.
This is a final render. For the final scene, I added some foliage in the ground. I also added lots of rocks and cracks, and modeled a few more simple board shapes and blocks. This render happens to have a light behind the camera, to light it up a little bit more. I don't like that light very much though, I think the moody shadow filled final picture is the best one.


