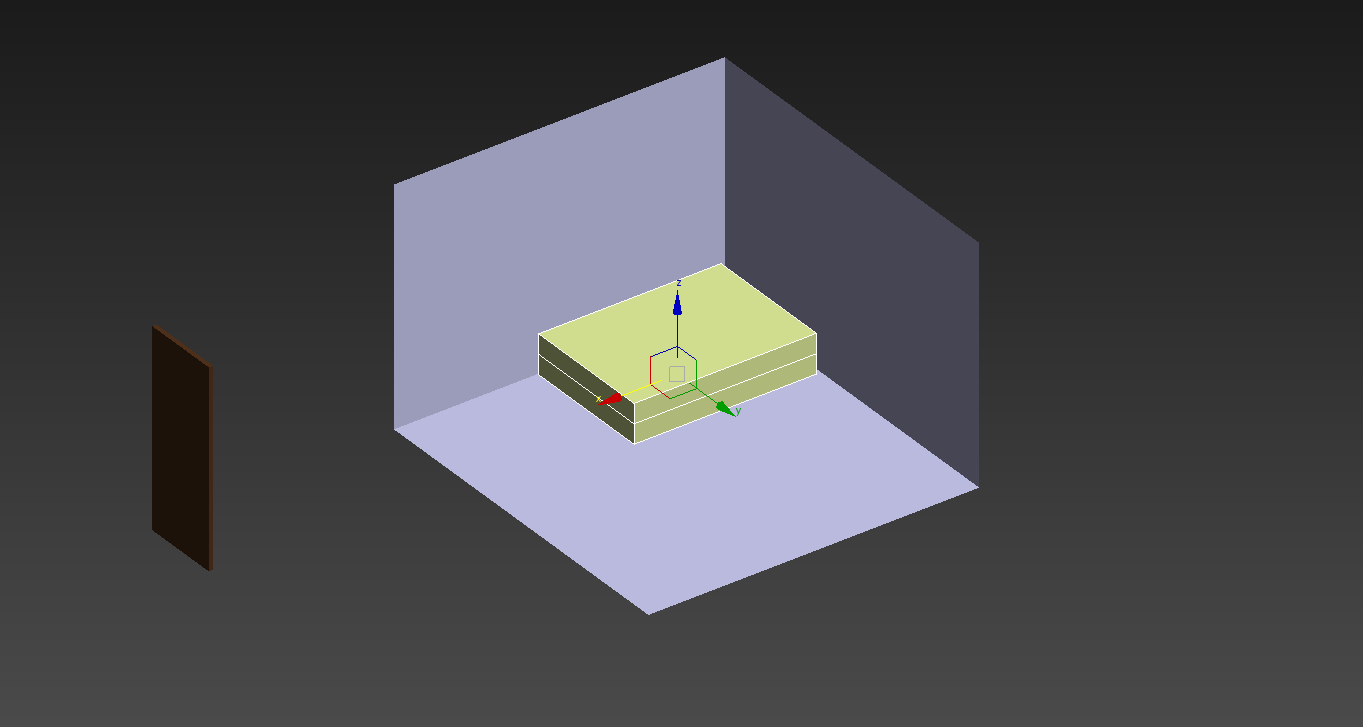
Just getting started with 3ds Max. These are simple shapes, which I moved around to stack on top of each other.
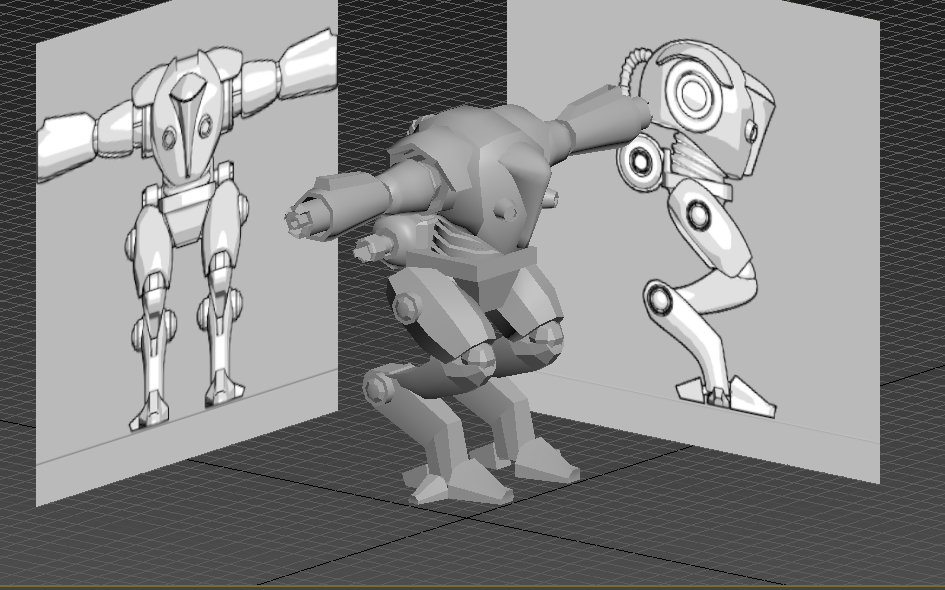
These are the guide pics I'll be using most of this project to make the mech.
Here is the first time I get to edit the different vertex points on a shape to change it's geometry.
Here I am making the basic cube shape I started with closer to the actual shape of the hull of the mech.
My first work with splines to model the helmet. Splines are useful for a shape like this, because it has lots of strange curves that are easy to replicate with splines.
Something went wrong here with overlapping vertex points, so I decided to restart. It worked the second time.
This is the finished head piece geometry, pre smoothing and detailing.
This is the head along with the body.
Now I am beginning on the pelvis part, Which I will make out of a simple box shape.
Here it is, close to the guide pic, if a little bit blockier than it should be. It will be smoothed later.
Now I am starting on the more complex arm pieces and joints.
Something went wayyyy wrong here, so I decided to just delete the piece and start over.
This is a more complex piece that will hold the telescoping guns of the mech.
Adding more arm pieces.
This is one arm, with guns, completed.
I then used the mirror tool to duplicate everything I'd done quickly.
Now I am beginning on the leg pieces. This one has some strange angles to it close to the pelvis. Here is also where i realized how much more helpful it is to work with three viewports on at once; they really let you get a feel where everything is.
More leg work.
Now, working on the foot.
This is making the upper leg piece a little closer to the guide by adding swift loops.
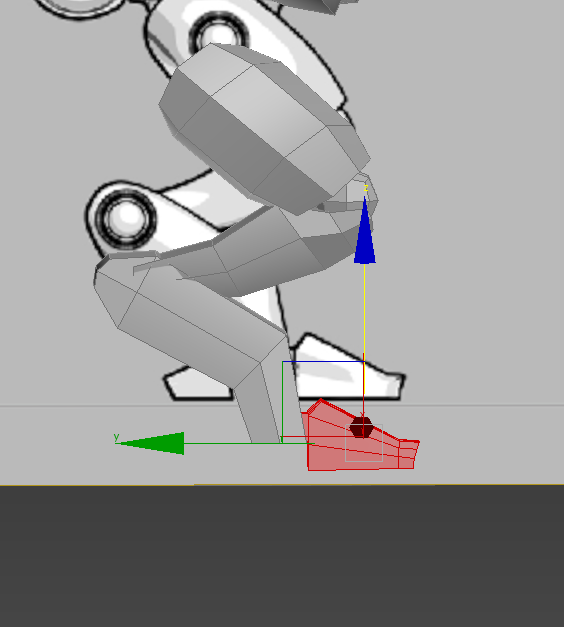
Moving the feet pieces around to the right positions.
Working in wire frame view can get kind of complicated, but is just as useful as it it is confusing.
Here is the mech with one leg finished, which I will mirror over lirke I did with the arm.
Here is the beginning of the jetpack.
And here is the completed jetpack.
Here's the mech, both arms and legs.
more views.
Here is the mech, after smoothing it down.
This is a glitch I kept running in to every time I would load my mech up to work on it. All of the pieces turn black and grey, and will disappear from view shortly after being selected. This could be a driver issue, or a 3ds Max issue. Either way, I was able to work around it by turning TurboSmooth on and off a few times until it stayed how it should.
Here is the mech, fully smoothed and modeled.
Here is a setup for the texturing.
These are the fully rendered mech. Unfortunately, I wasn't able to get the platform files to work, so I had to stop here.


.PNG)


.PNG)